I’ve always been curious about decentralized applications, especially the web counterpart. With so many centralized solutions to deploy your website, I wanted to see if there were any decentralized. One good alternative I found to other platforms is fleek.co, you can use it to deploy your website with IPFS or DFINITY’s Internet Computer (‘IC’). For this post I will only focus on IPFS to deploy the website with Hugo. Before getting into more details, you should have a basic understanding of Blockchain.
Intro to IPFS
It is used for storage then you need some other application on a different blockchain like Ethereum, to manage how data is going to be stored and retrieved from IPFS. Every file you put on IPFS will have its own hash and can be used to retrieve a block content within the desktop application, the CLI or other implementations listed on the official website. So for instance, let’s say you want to upload a txt file on IPFS, you simply drag and drop the file in the desktop application and a new hash will be linked to this file:
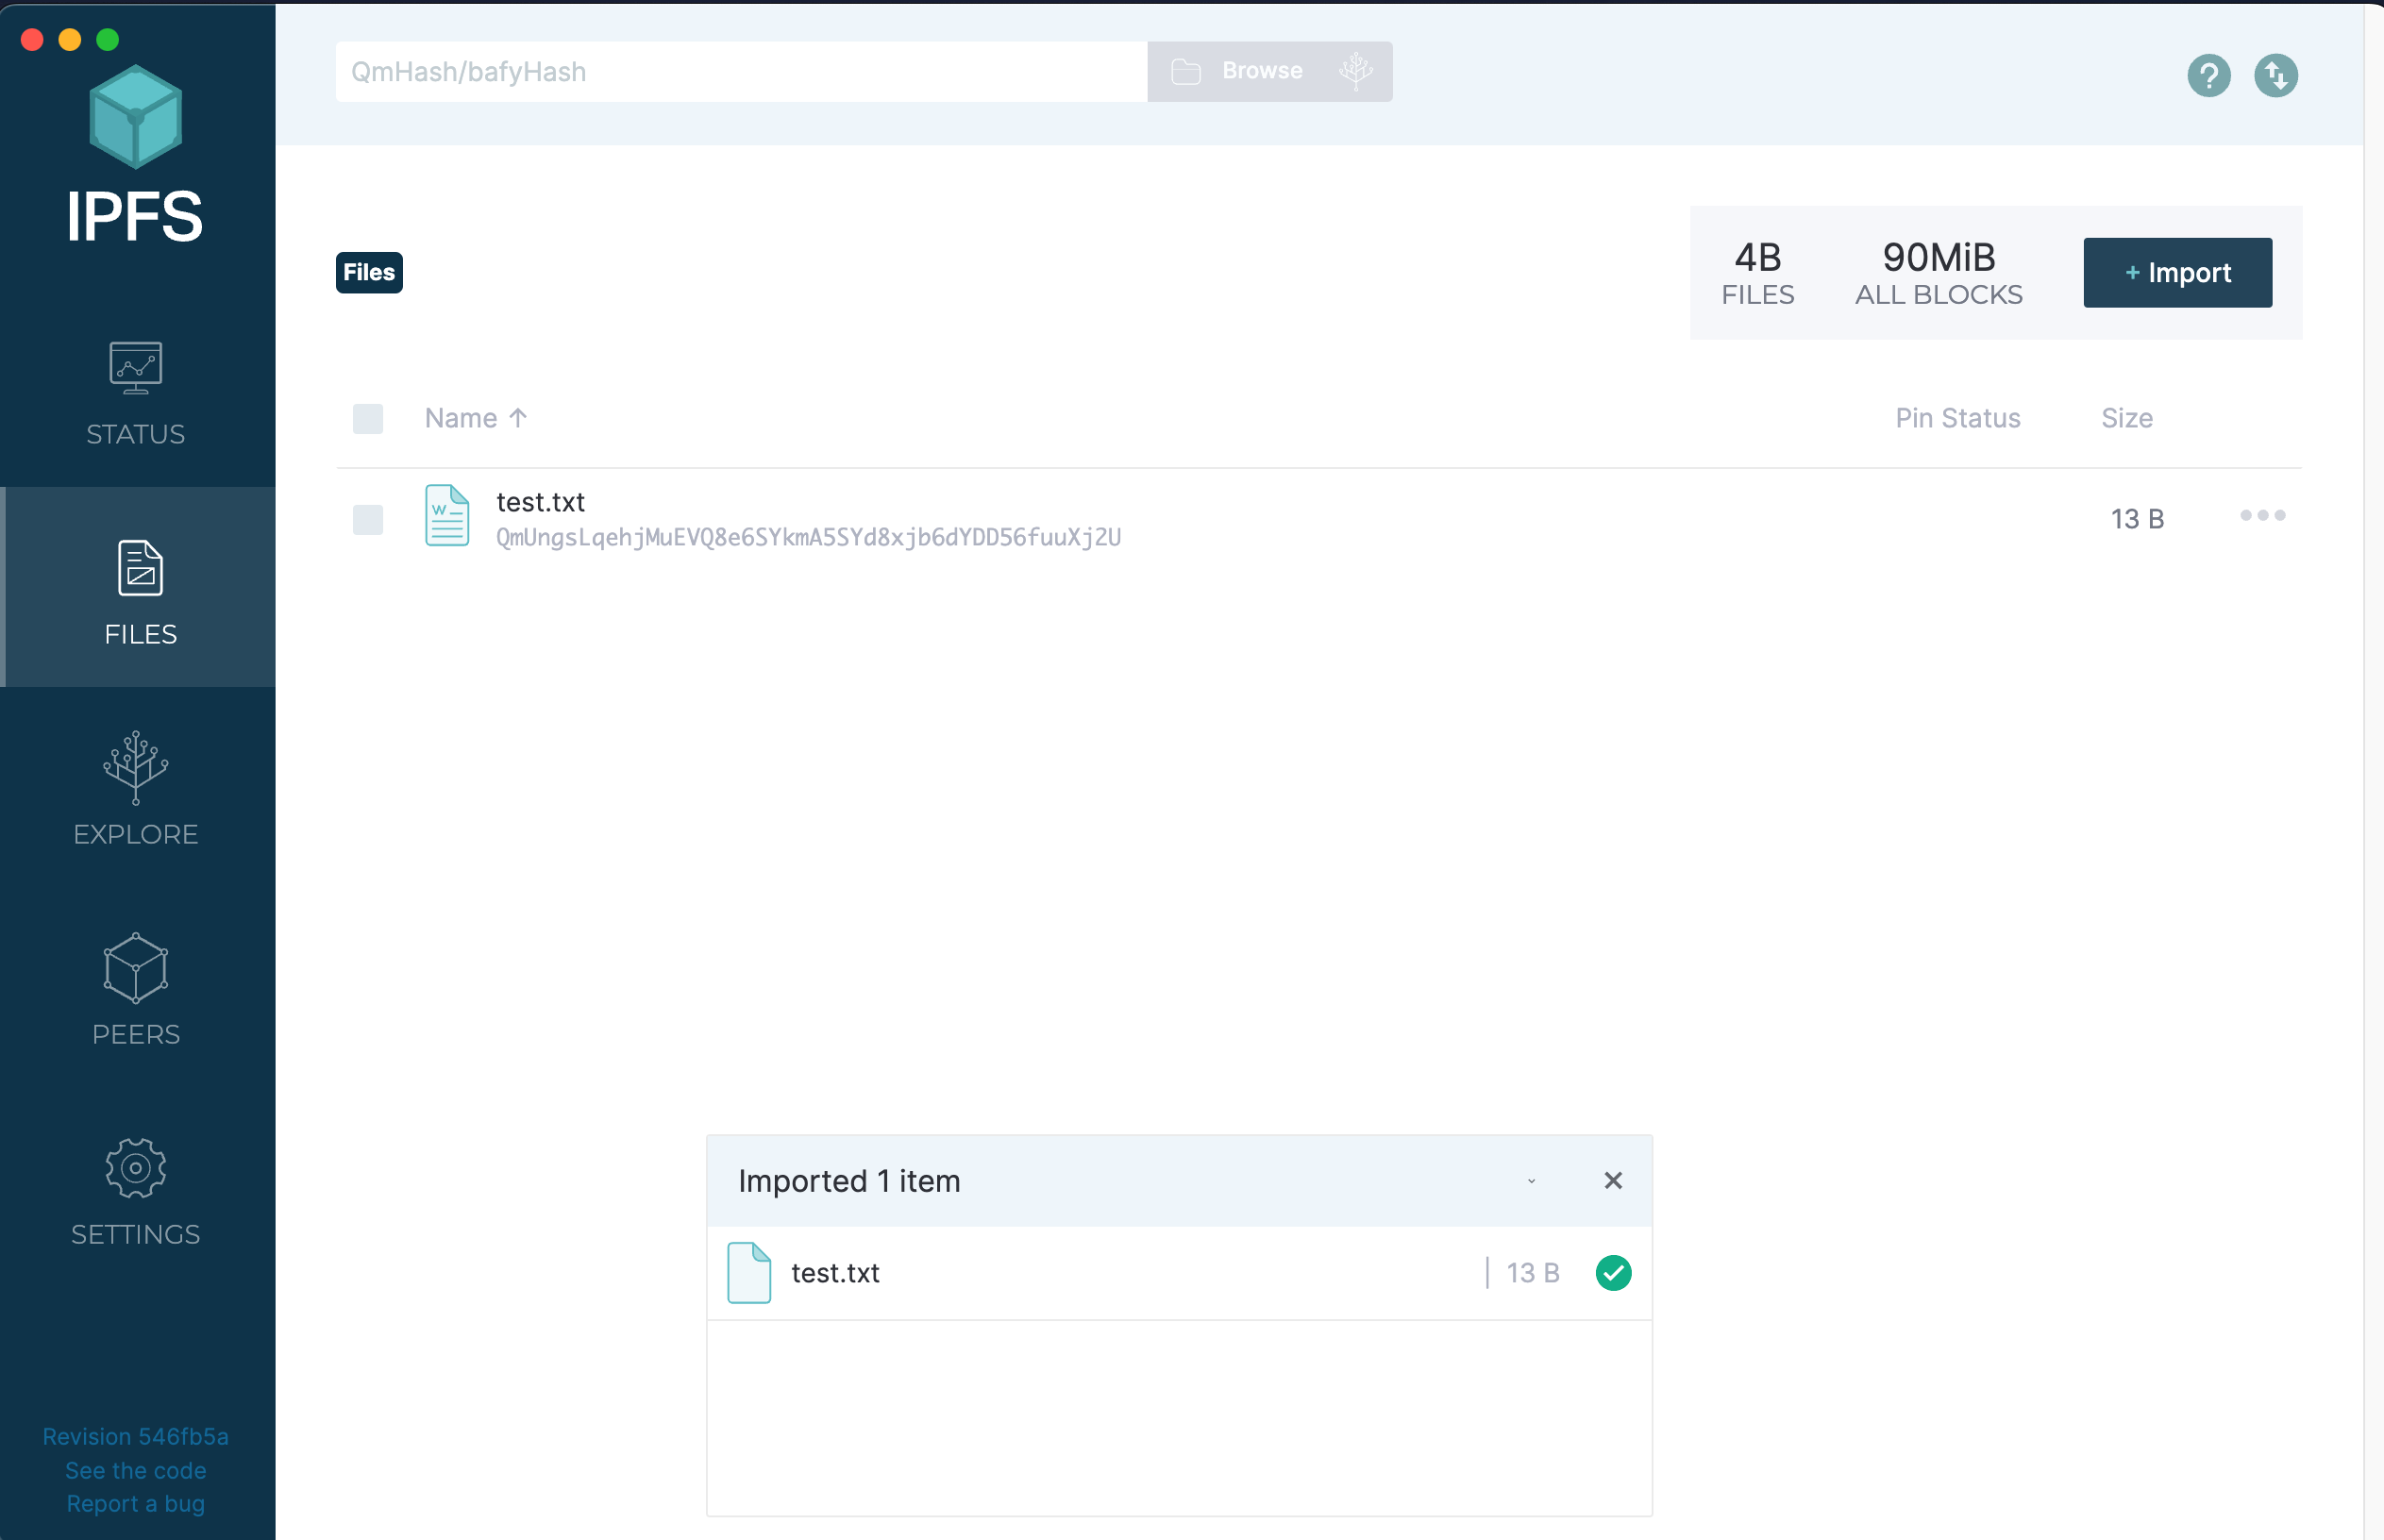
Having the hash allows you to access the file, you can use a browser like Brave to do so, just right click on the file in IPFS desktop and select “Share Link” to get the full link of the block:
https://ipfs.io/ipfs/QmUngsLqehjMuEVQ8e6SYkmA5SYd8xjb6dYDD56fuuXj2U?filename=test.txt

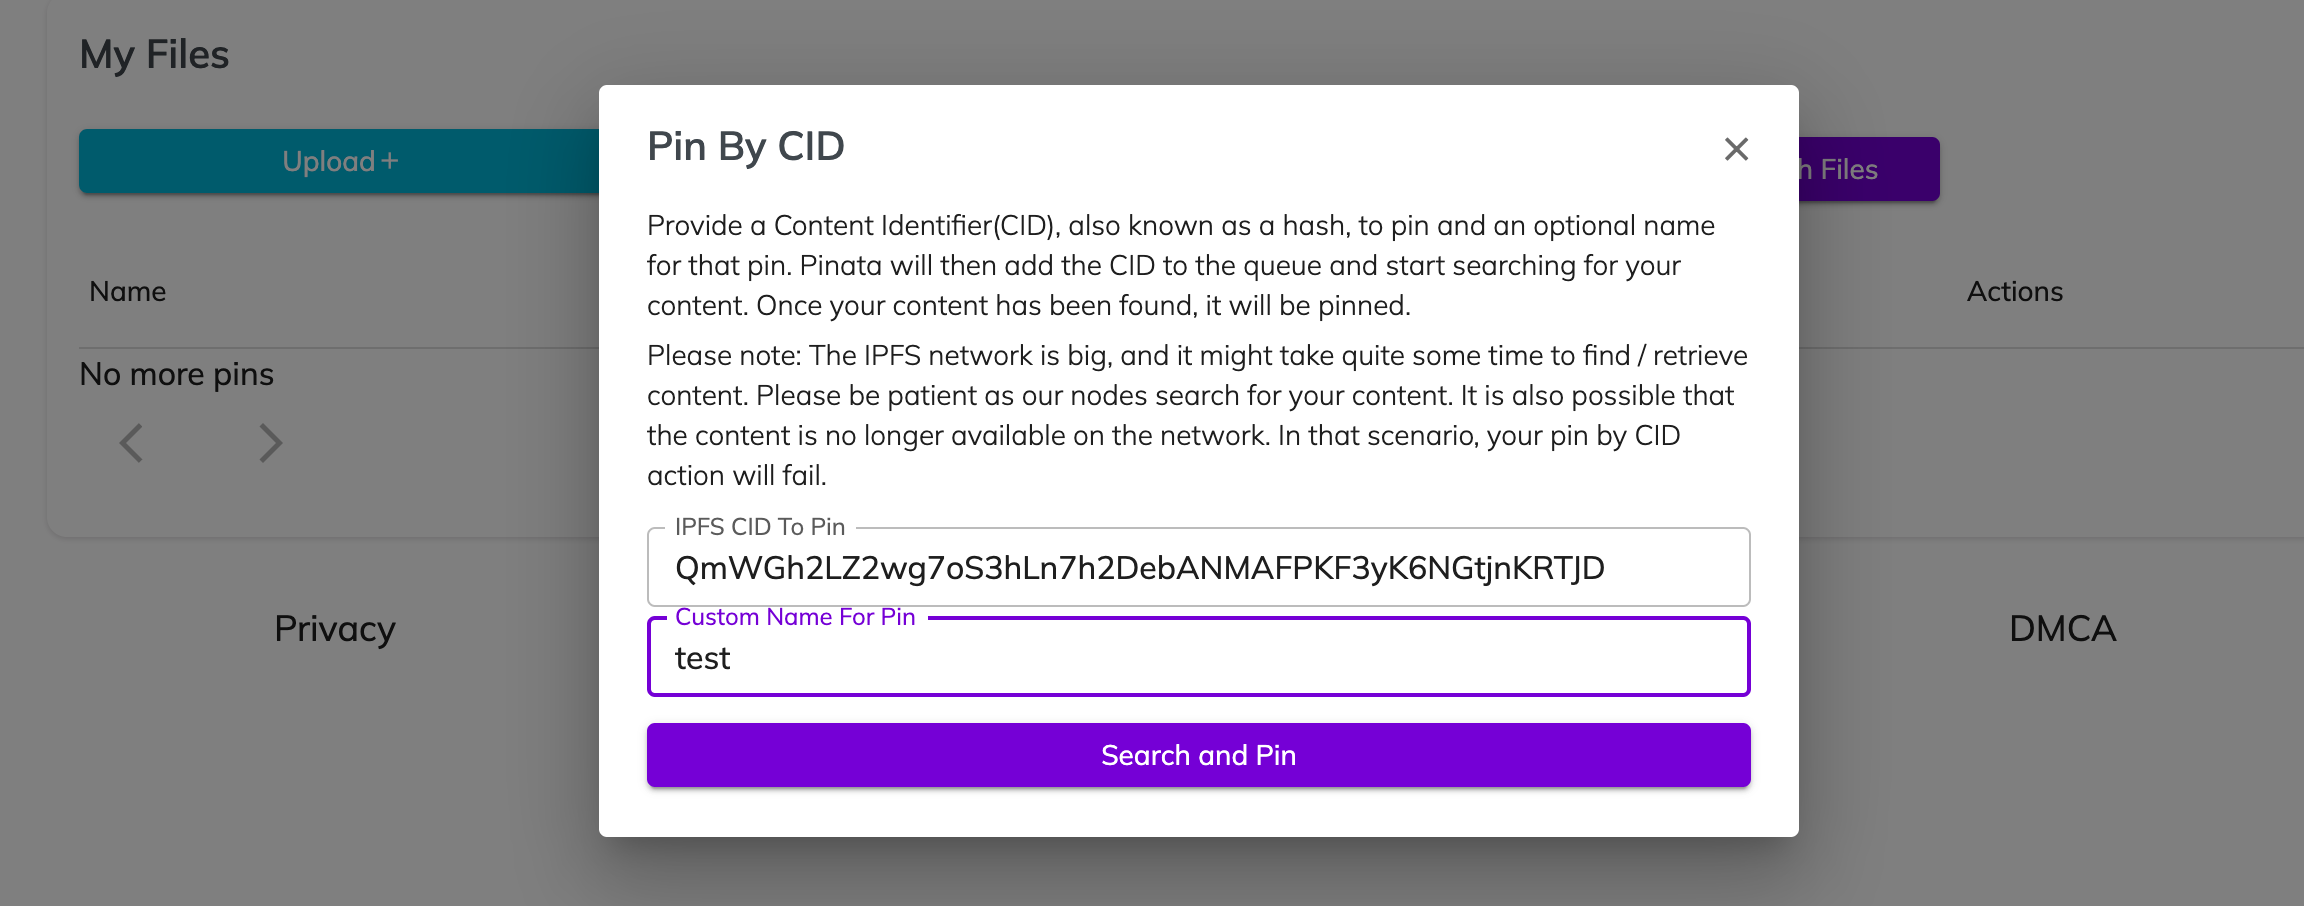
Or you can import the hash in IPFS and you will be able to access its content. Keep in mind though as soon as you shut down your IPFS daemon the site will be become unreachable so to avoid that, you can use Pinning! With a service like Pinata, you can either provide an hash or upload directly a file and it will be hosted on IPFS. E.g.:
As you may noticed, it’s not a difficult process to follow but unfortunately each time you update some files, you have to repeat everything from the start which of course is not very convenient. To avoid being redundant, fleek.co comes into play and it’s the service we are going to use to host our Hugo website.
Deploying a Hugo website on Fleek
As a reference you can use my website which is hosted on fleek.co. Create an account on Fleek and connect it to your Github account:
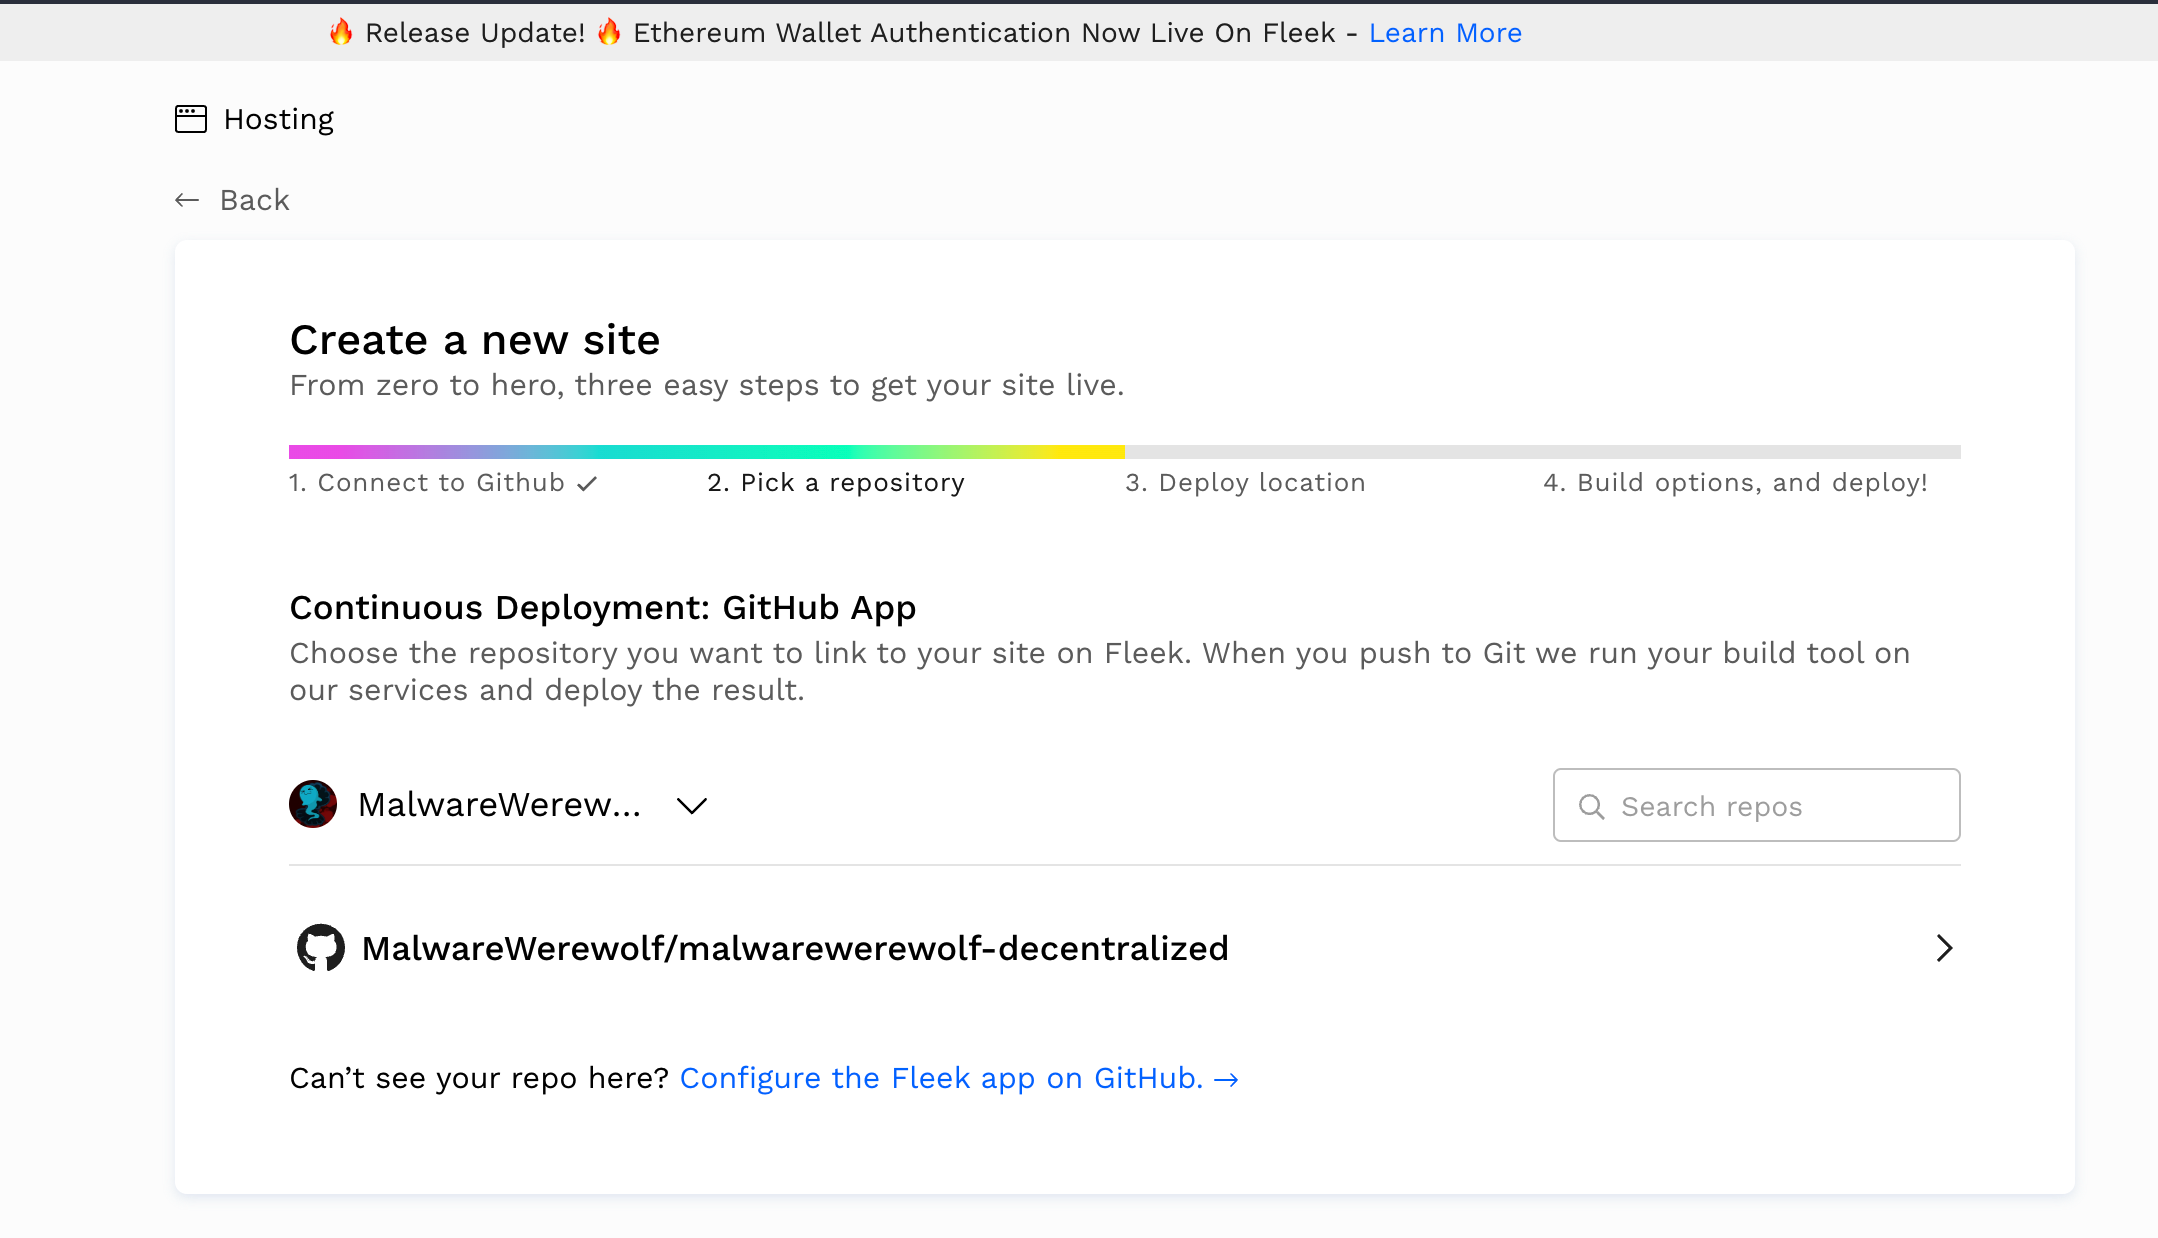
Select as Hosting Service IPFS, after that you need to set the build settings, the following interface is presented to you where you can choose the framework and set the docker image:
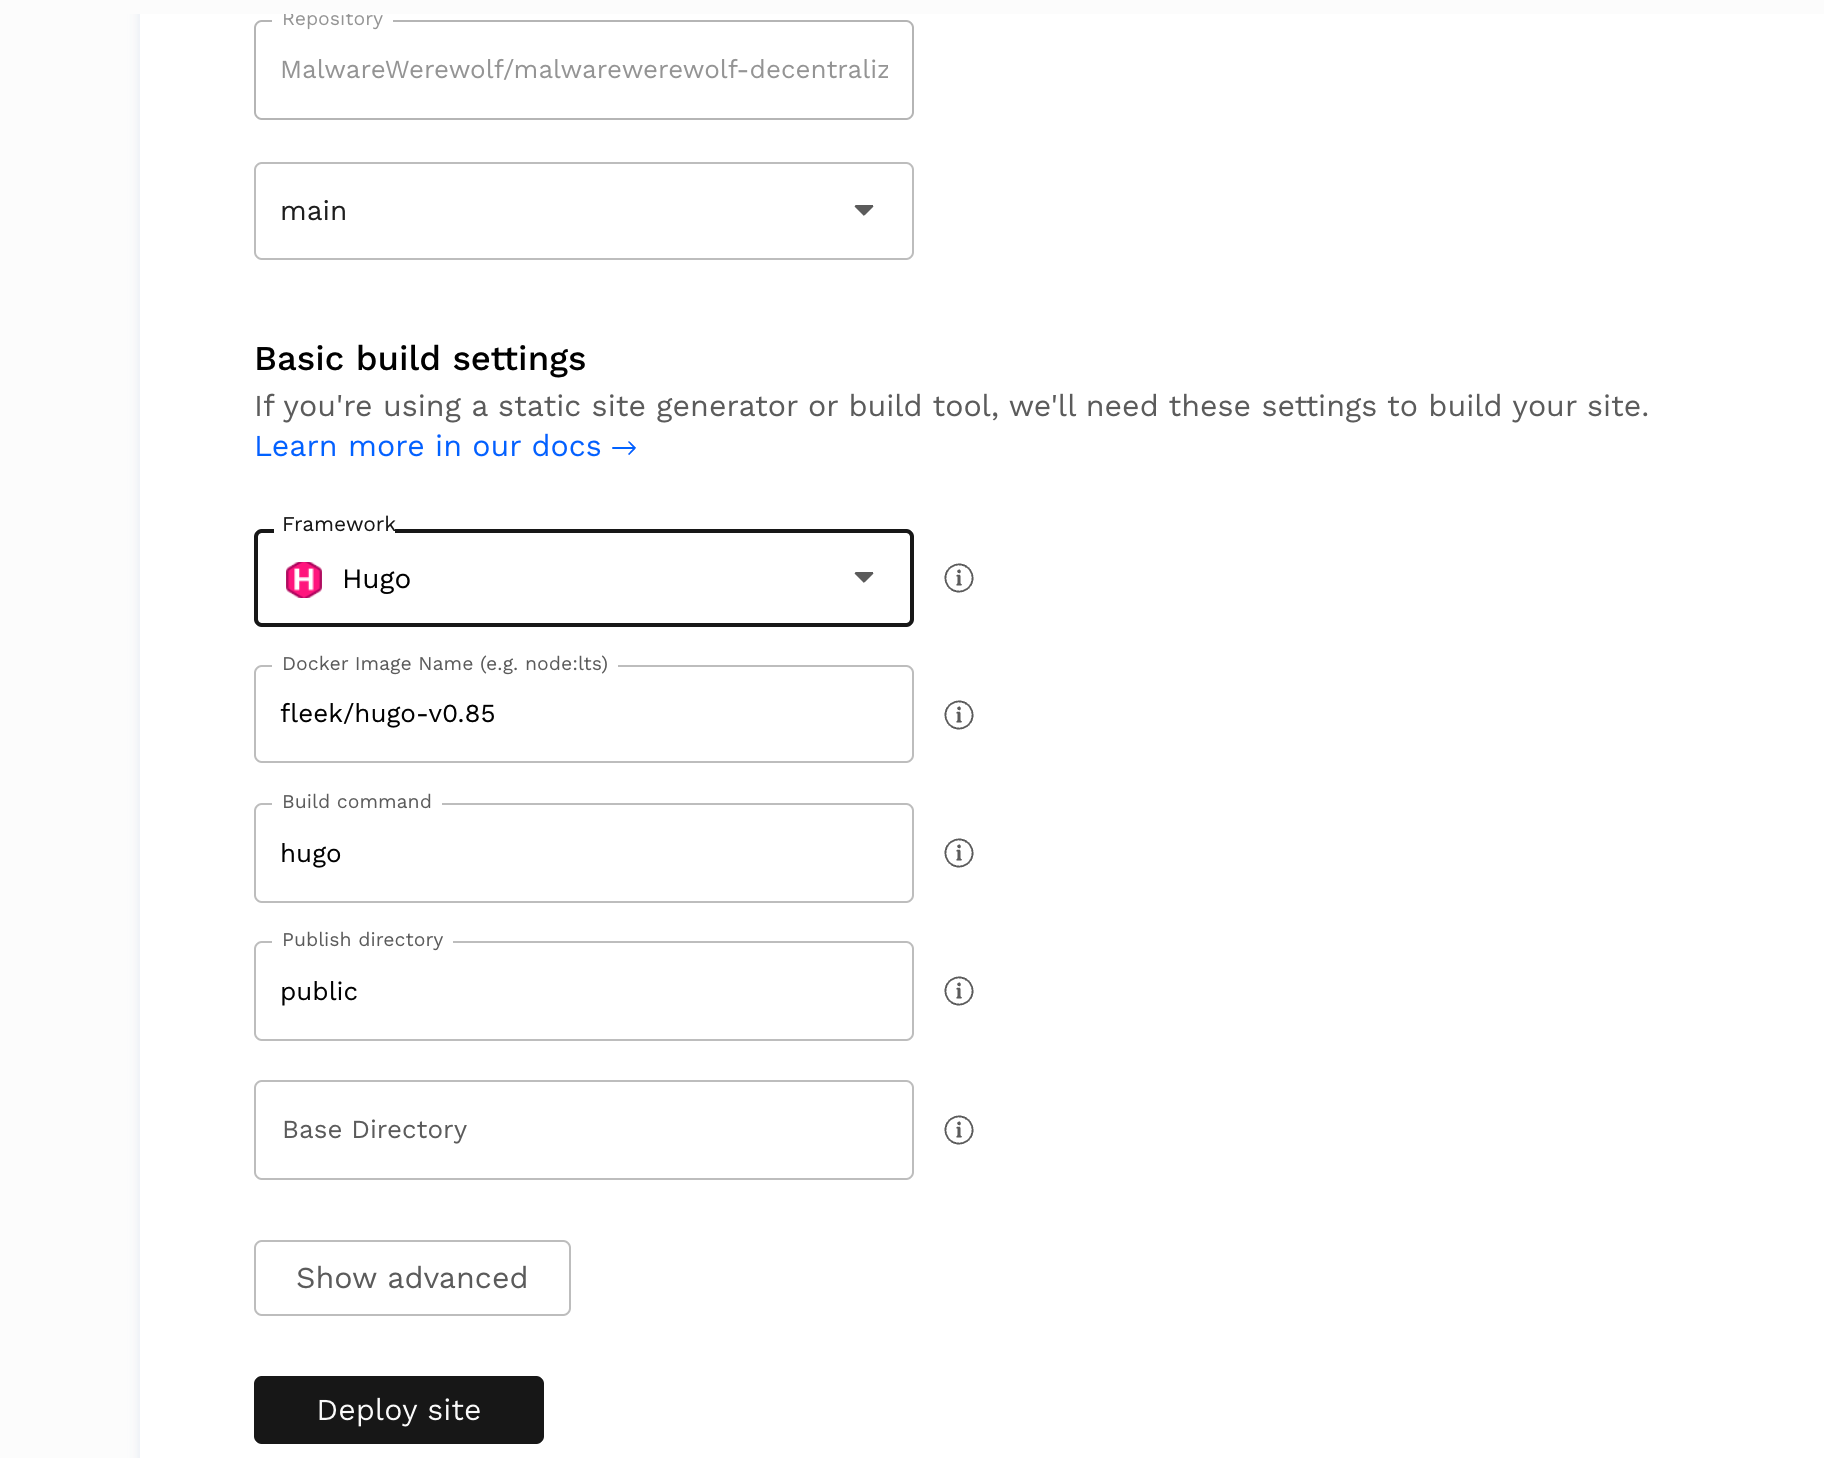
I do not recommend using these settings for Hugo unless you don’t need the extended version. The default Docker image does not support the extended version so you will not be able to deploy your website. I tried other Docker images on the Docker Hub and I’ve found an image which worked with my website, but the Hugo version used was the 0.87 so not very recent and there was no way to use the most recent one. If you check the code of my repository, you’ll notice that in the root folder there’s a file named as .fleek.json:
{
    "build": {
        "image": "drakobombo/hugo-extended-fleek:latest",
        "command": "hugo --gc --minify && echo $BUILD_STATUS_ENV",
        "publicDir": "public",
        "baseDir": "",
        "environment": {
            "BUILD_STATUS_ENV": "Build finished!"
        }
    }
}
With this json, you don’t need to set any deployment settings on fleek dashboard because they will be overwritten by the configuration being used in the json. I mentioned that I didn’t find any working docker images but only one without the most recent version, so I created my Docker image and I deployed it to the Docker Hub. The code that I used for my image is pretty straight forward, I just had to change the entry point because with the default one used by Docker, the deployment on Fleek was still not working:
FROM klakegg/hugo:latest-ext

WORKDIR /site

ENTRYPOINT [""]
CMD ["hugo"]
Another thing that I’d like to mention, you can’t build arm based images on Fleek. So if you’re compiling the image on apple silicon it will not work, because we need to target an x32/x64 build like so:
$ docker buildx build --platform linux/amd64 -t "hugo-extended-fleek" .
That’s it, you can deploy your Hugo website using my configuration!
A few notes about the domain
I managed to connect my current domain on Fleek, but there were some issues during the domain verification. For any issues you can contact the Fleek support by opening a ticket on Discord.
I also had to change my DNS provider to Cloudflare because the new Fleek setup requires you to use ANAME/ALIAS which are not supported with some providers. I will not explain the whole process that I did, you can follow the documentation especially if you want to use Cloudflare as your DNS provider. Just one very important thing that I want to point out, if you decide to use the latter, remember to follow these two essential steps listed in the documentation:
If you are using Cloudflare, as in pointing your domains to their name servers to use Cloudflare’s DNS service, you can still upgrade your DNS records to the new DDOS protected infrastructure.
Follow the instructions above, with these two slight differences:
- In Cloudflare, ANAME records need to be set as CNAME records.
- You need to turn Orange Cloud OFF (disabling HTTP proxy mode) in Cloudflare for your DNS domains.
If you don´t turn off the Orange Cloud/Proxy for your domain when setting your DNS records on Cloudflare, your custom domain will fail its DNS verification on Fleek. To do so, visit the DNS App in Cloudflare, and edit your DNS records, there you can Click the orange cloud on each record to turn it OFF (Grey).
ENS
As an alternative if you don’t want to buy a domain from the major platforms like Google or GoDaddy, I present you ENS, decentralized domains based on the Ethereum Blockchain! Exciting as it might sound, it’s important to note that not all browsers are currently supporting ENS domains. So at the moment, the browsers listed below are supporting a decentralized domain:
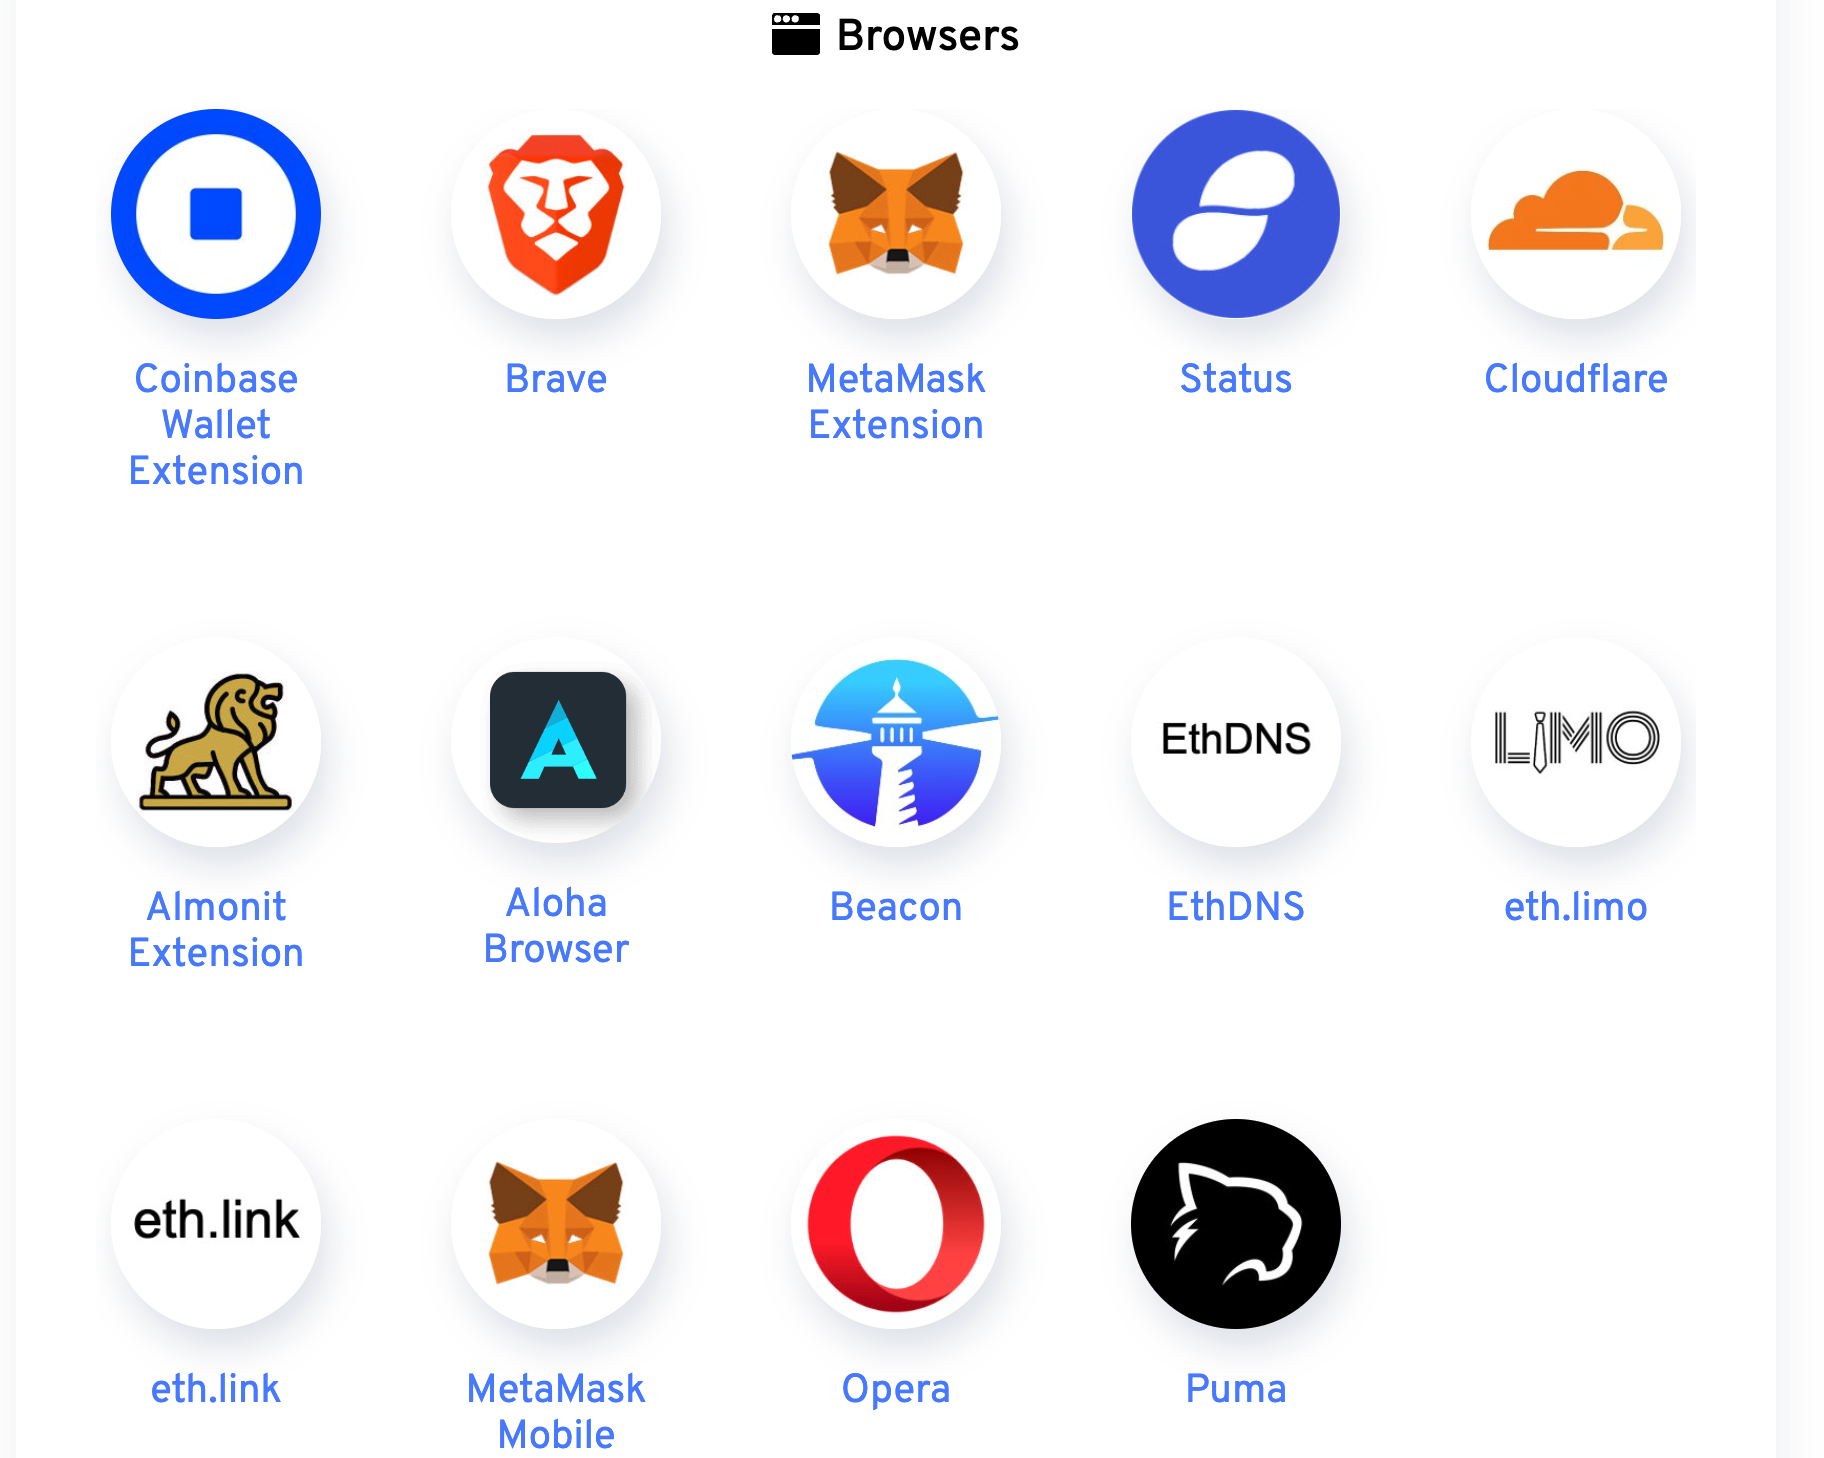
Credits for the image to ENS
It’s not just a domain, from the ENS website, it’s your web3 username which can be used to store all of your addresses and receive any cryptocurrency, token, or NFT.
TLDR
Deploying a decentralized website is quite different unlike the usual way, nonetheless services like fleek.co lets you focus entirely on the development of your website without caring too much about repeating the same steps each time you change some files as we saw earlier. If you’re interested to know more about IPFS, you can take a look at the concepts section on the documentation which explains in greater details how IPFS is working.