I always used PCs with Windows already pre-installed but I never tried a Macbook before. I was also curious about the new Apple M1 chip and from the moment it was released recently, I thought it was a good time to discover new features to help the community to use efficiently these Macbooks with the new chip. We are going to analyze each tool in order to declare a winner.
QEMU
Before the version 6.0.0 to make a VM work, you had different options:
-
The easiest option was to download this tool on Github and simply drag and drop the image and press start, pretty simple right ? Not really, I was only able to make the Windows ARM version work with this tool, for some reason it was not working with Ubuntu Server. I made a video about the emulation with QEMU where I also talk about this issue, it’s probably caused by some wrong parameters used when the qemu-img command is executed.
-
Do everything manually from compiling the QEMU source code to build the VM, there are many other posts where they teach you how to do this. The following posts are outdated but they give a good overview about how to compile the source code of QEMU:
-
Download a QEMU fork (for those who don’t know what is a fork, it’s simply a copy of a repository) with Alexander Graf’s qemu hypervisor patch installed and launch the VM from the terminal always using QEMU (not the one installed with homebrew). For example this is the script that I used with Ubuntu Server:
./qemu-system-aarch64 \
  -serial stdio \
  -M virt,highmem=off \
  -accel hvf \
  -cpu cortex-a72 \
  -smp 4,cores=4 \
  -m 4096 \
  -bios "/Applications/ACVM.app/Contents/Resources/QEMU_EFI.fd" \
  -device virtio-gpu-pci \
  -display default,show-cursor=on \
  -device qemu-xhci \
  -device usb-kbd \
  -device usb-tablet \
  -device intel-hda \
  -device hda-duplex \
  -drive file="myPathHere/ubuntu-server.qcow2",if=virtio,cache=writethrough \
  -cdrom "myPathHere/ubuntu-server.iso"
But wait where can I find a fork with this patch already installed ? ACVM already contains a QEMU build with this patch installed, there is also this link where you can find another fork (you can also find the link on this post).
UTM
The process to create a VM is more simple, for example to create a Windows VM you can take a look on the official website. There is also a gallery page where you can get a good explanation about how to install different OS if you are not interested in Windows 10.
Unfortunately there is a catch, at least for Windows 10, I didn’t test other operative systems. For some reason the Edge Browser continuously open again and again, besides that the cursor flickers constantly and it’s very annoying. Is there a way to fix this ? I didn’t found a solution but if you have found it, you can share it in the comment section below (or if I found a solution I will update this post). As you might imagined Windows 10 does not work very well with UTM but these issues are also present in QEMU (I mean QEMU standalone, of course UTM is built around QEMU).
UTM release 2.4.1
Apperantly the issue with the mouse flickering was fixed with the release 2.4.1, you just need to use the latest SPICE tools ISO. Nonetheless there are still some performance issues.
VMWare Fusion
At the moment VMWare Fusion has a technical preview, which can be downloaded from the official website.
You can install Windows 11 and it actually works pretty well, even though you have to do some tweaks (some of these tweaks are the same for UTM):
- Download the necessary UUP Files from uupdump
- Follow this video on Youtube to install Windows 11 on VMWare Fusion
- The video doesn’t explain how to download the UUP Files with the macOS script, you basically need Homebrew however there are some issues with a package that you need to install. In the terminal launch these commands which are also listed here to make it work:
curl -LO https://gist.github.com/minacle/e9dedb8c17025a23a453f8f30eced3da/raw/908b944b3fe2e9f348fbe8b8800daebd87b5966c/openssl@1.0.rb
curl -LO https://gist.github.com/minacle/e9dedb8c17025a23a453f8f30eced3da/raw/908b944b3fe2e9f348fbe8b8800daebd87b5966c/chntpw.rb
brew install --formula --build-from-source ./openssl@1.0.rb
brew install --formula --build-from-source ./chntpw.rb
rm ./openssl@1.0.rb ./chntpw.rb
- You may also need to update the command line tools, it should appear an error on the terminal with some instructions, if you’re not using the latest version. If it is a warning just ignore it
- Now you can launch the script by making it an executable with
chmod +x filename, the other necessary steps are shown in the video - If for some reason during the first setup of Windows 11 you can’t skip the configuration of the Wifi, simply follow this video. It seems that there are many processes running during the first setup, you just need to close the right one and you can finish the setup easily
- The last thing to do is to use the remote desktop to get a fullscreen resolution, at the moment there isn’t a better solution to this issue. Follow this video on Youtube for a complete explanation with VMWare Fusion
Now the question might be “Why using the UUP Files instead of the preview file from the Microsoft’s site ?”, well the reason is pretty simple, the vhdx file could get corrupted during the installation of Windows or later. For this reason is better to use an ISO from uupdump. You could also convert the vhdx extension to qcow2 with this command (even in this case the file can get corrupted and you would need recreate it again):
qemu-img convert -p -O qcow2 /path/to/Windows11_InsiderPreview_Client_ARM64_en-us_22483.VHDX /path/to/output/Windows11_InsiderPreview_Client_ARM64_en-us_22483.qcow2
For UTM there’s this video if you want to check, some steps as I said are basically the same.
Parallels
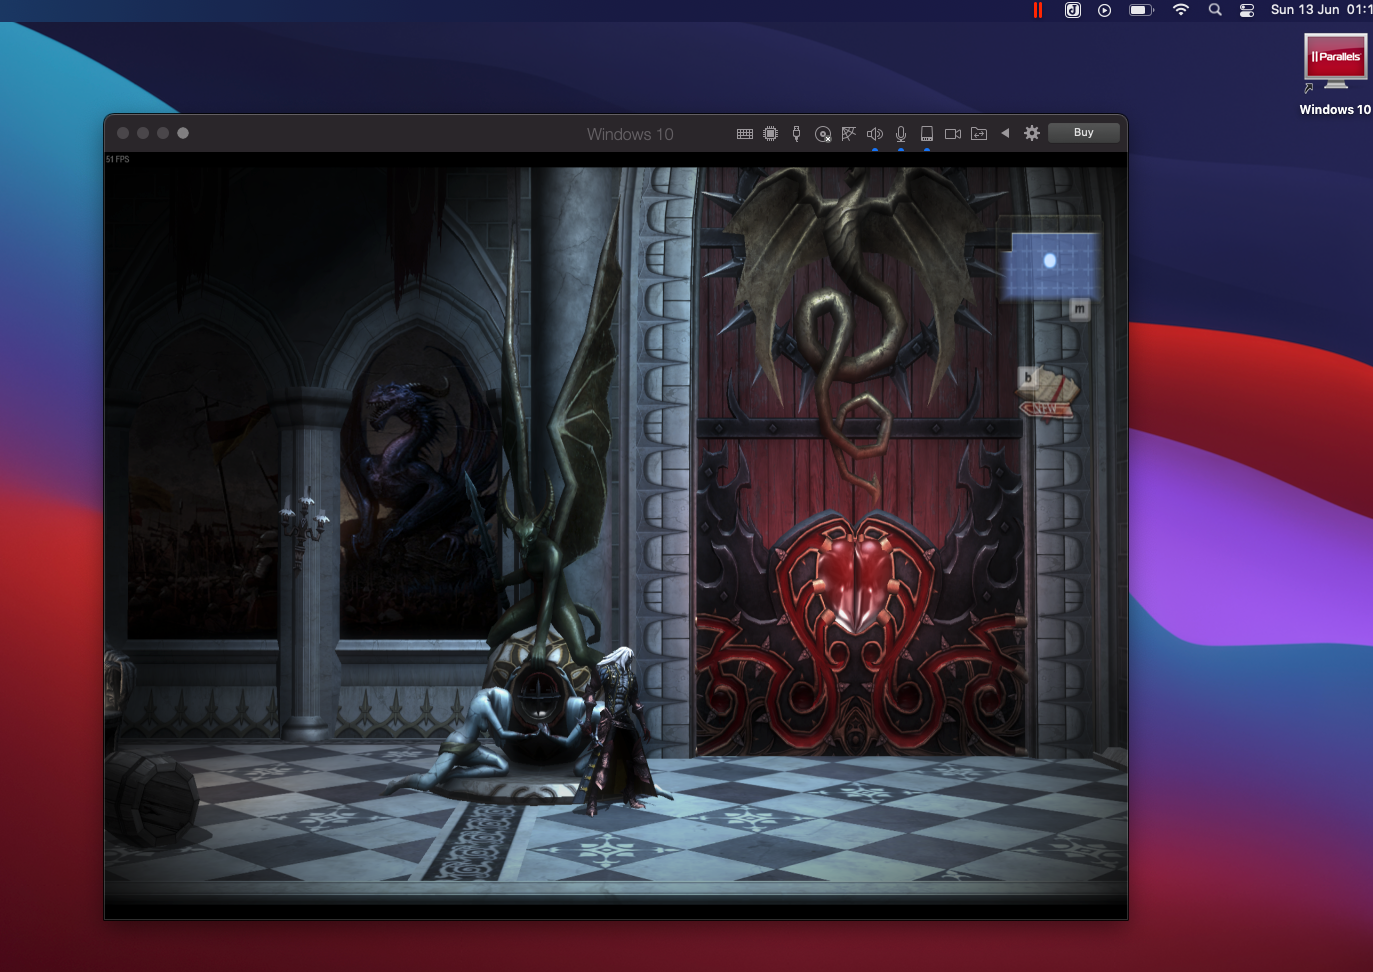
If you want to use Parallels, buy a licence (or at least try before you buy). It’s very simple to create a VM, you just need to select the file in the Finder and Parallels will do the rest, no terminal, no strange tweaks, no drivers to install, nothing. In this video there is an example.
TLDR
QEMU could be too complicate for some users, I managed to get Ubuntu Server working from the terminal but it’s better to use a GUI software so you can avoid many issues instead of setting everything on your own.
UTM could be a good alternative, but unfortunately it’s not fully usable. You could use it to run simple applications, but don’t expect to play games or to do other complex stuff, for that purpose there is Parallels which works much better.
Virtualbox is probably never going to get a release to support the M1 chip, from the moment it’s a general-purpose full virtualizer for x86 hardware, which the M1 or M1X are not part of this.
VMWare Fusion is currently in a technical preview like Parallels was a few months ago, it sure is a good alternative to Parallels but it requires some tweaks to make Windows or another OS work.
This post was simply made to give an overview to everyone who is going to virtualize an OS on an Apple M1 chip, if I would declare a winner, I would choose Parallels, why you may ask ? The answer should be obvious but it’s because of its simplicity and the fact that many features are perfectly working, you can also play 3D games!